Ultimate Guide to Best Photography Practices in Joshua Tree National Park
Best Photography Practices for Joshua Tree National Park
Joshua Tree National Park is a breathtaking landscape that offers photographers a unique opportunity to capture the beauty of the desert environment. With its striking rock formations, iconic Joshua trees, and vivid landscapes, it’s no wonder that this park attracts photographers from all over the world. In this blog post, we’ll discuss the best photography practices for making the most of your time in Joshua Tree National Park, ensuring you capture stunning images that truly reflect the magic of this incredible location.
Understanding the Geography and Lighting of Joshua Tree
Choosing the Best Time of Day for Photography
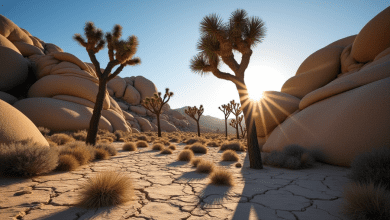
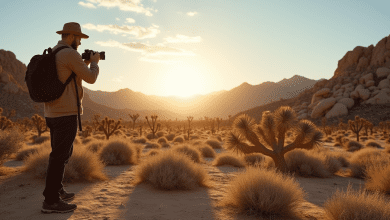
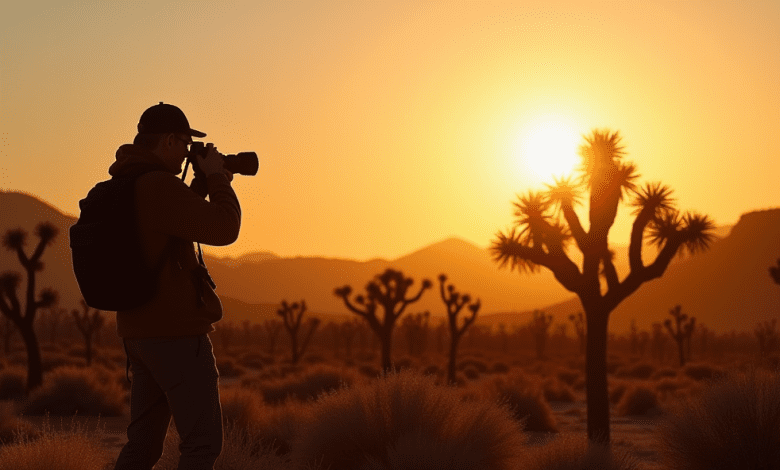
The lighting conditions in Joshua Tree National Park can dramatically change the look and feel of your photographs. To take full advantage of these variations, plan your shoots during the golden hours—shortly after sunrise and just before sunset. The soft, warm light during these times can enhance textures, colors, and shadows, making your landscape shots truly stand out. Additionally, the unique rock formations and Joshua trees take on a beautiful glow during these hours, creating opportunities for dramatic imagery.
Familiarizing Yourself with the Terrain
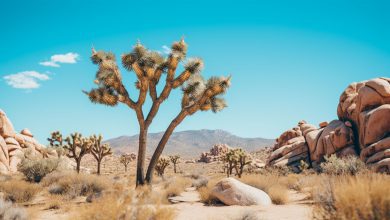
Before you head out with your camera, take some time to familiarize yourself with the park’s geography. Joshua Tree is known for its diverse landscapes, which include rugged mountains, vast desert plains, and striking rock formations. Researching specific locations within the park—like Hidden Valley, Skull Rock, and Keys View—can help you determine the best spots for your photography sessions.
Essential Photography Gear for Joshua Tree
Camera and Lenses
While any camera can work, DSLRs and mirrorless systems have features that may elevate your shots in a national park setting. A camera with manual settings will allow you to adjust exposure and optimize your images based on the lighting conditions. For landscapes, a wide-angle lens (e.g., 16-35mm) is essential to capture the expansive desert scenes, while a telephoto lens (e.g., 70-200mm) is great for isolating details like wildlife and distant mountains.
Tripod and Filters
Since you’ll likely be shooting in varying light conditions, a sturdy tripod is a must. It allows for longer exposures and sharper images, especially in low-light settings. Neutral density (ND) filters can also be beneficial for long exposure photography, allowing you to capture smooth skies and flowing streams by controlling the light entering the lens.
Techniques for Capturing Stunning Images
Composition Tips
Effective composition is crucial in landscape photography. Consider using the rule of thirds, which suggests placing points of interest along grid lines or at the intersections of these lines to create a balanced image. Leading lines, such as paths or rock formations, can draw the viewer’s eye into the frame, while framing your subject through natural elements like trees or rocks can create depth in your photos.
Experimenting with Perspectives
Don’t hesitate to change your perspective. Get low to the ground to incorporate foreground elements, or find higher vantage points to capture sweeping views. Experimenting with different angles and compositions can result in unique and captivating images.
Respecting Nature and the Environment
Practice Leave No Trace Principles
As a photographer in Joshua Tree, it’s essential to respect the natural environment. The Leave No Trace principles guide outdoor ethics and emphasize the importance of caring for the landscapes you explore. Always stay on marked trails, don’t disturb wildlife, and leave natural sites as you found them. Carry out any trash, and be mindful of where you set up your equipment to minimize your impact.
Be Considerate of Park Regulations
Joshua Tree National Park has specific regulations regarding photography, especially if you’re using professional equipment. Check park guidelines regarding permits for commercial photography or drone usage. Always prioritize safety, and don’t venture into restricted areas.
Post-Processing: Enhancing Your Images
Editing to Bring Out the Best
Once you’ve captured your images, post-processing is your opportunity to enhance them further. Programs like Adobe Lightroom or Photoshop can help you adjust exposure, contrast, and color balance. Be mindful of over-editing; maintaining the authenticity of your photography while creating visually striking images is the goal.
Sharing Your Work
After you’ve edited your amazing photos from Joshua Tree, consider sharing them on social media platforms like Instagram, Facebook, and Pinterest. Using relevant hashtags, such as #JoshuaTree and #LandscapePhotography, can help your images reach a wider audience.
Conclusion
Capturing the beauty of Joshua Tree National Park takes planning, skill, and respect for nature. By understanding the terrain, employing effective photography techniques, and adhering to environmental guidelines, you can create stunning imagery that embodies the spirit of this unique park. So, pack your gear, take a moment to appreciate the beauty around you, and let your creativity flow in this remarkable desert paradise. Happy shooting!
